I have been using Geogebra for most of my 18-year teaching career. I used it mainly for projects or to demonstrate a specific skill. In my first few years, I had students download images of bridges, rainbows, and fountains. They uploaded them into Geogebra to visually show the features of a parabola. They used their pictures to write the equations of parabolas, and enjoyed it so much they asked for more GeoGebra activities.
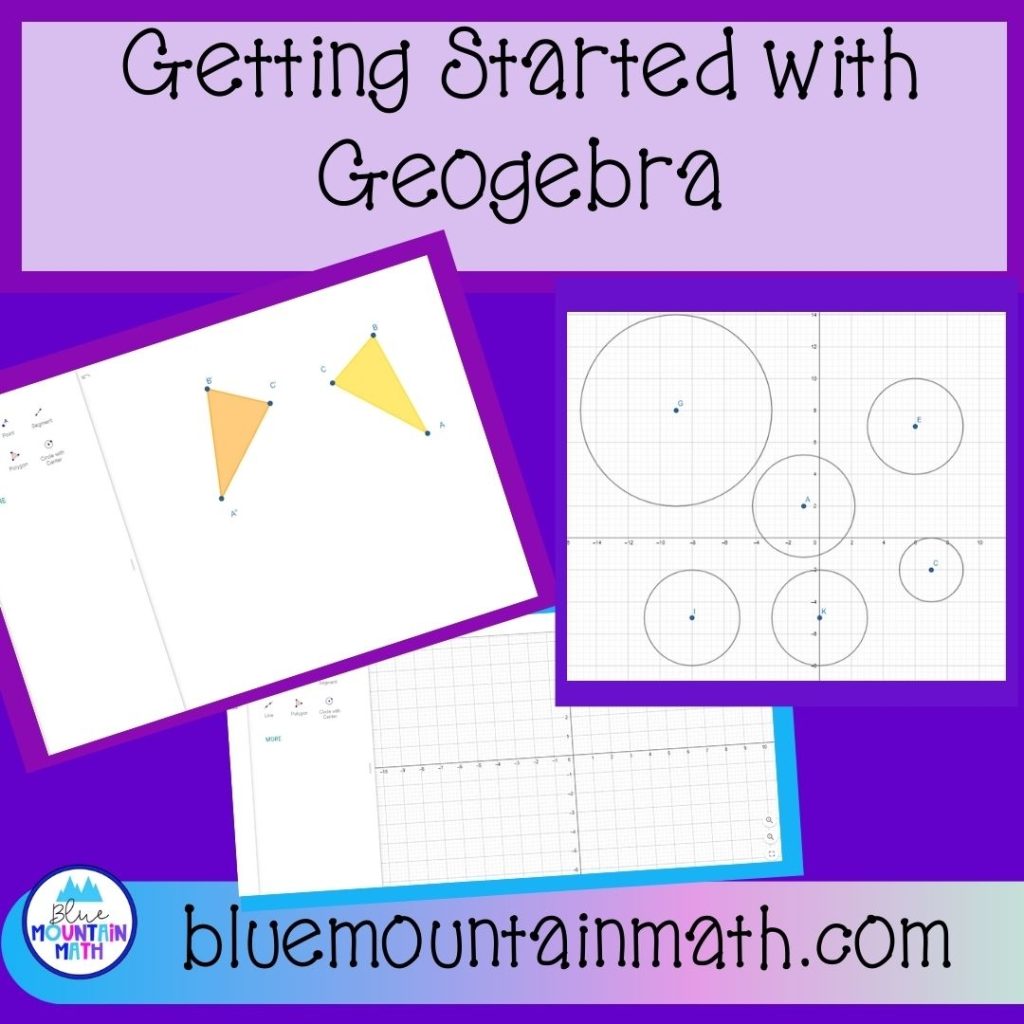
In middle school, I remember using it to demonstrate transformations in the coordinate plane and the kids were so creative. I recall one student used a dancing bear and then translated the bear so many times that it was a line of dancing bears.
And during distance learning, GeoGebra was a lifesaver because I could not view students manually graphing points or equations. It is a free tool that is often underestimated and overlooked, but today we look at some ways we can get started using it in our classroom.
What is GeoGebra
GeoGebra is a free and open-source software application for creating and working with mathematical equations and visualizations. It is available for Windows, Mac, and Linux platforms, and looks great on Chromebooks. GeoGebra has a wide range of features that make it a powerful tool for teaching and learning mathematics. In this blog post, we will focus on the basics and in the coming weeks add some activities you can use in your classroom that have been student tested.
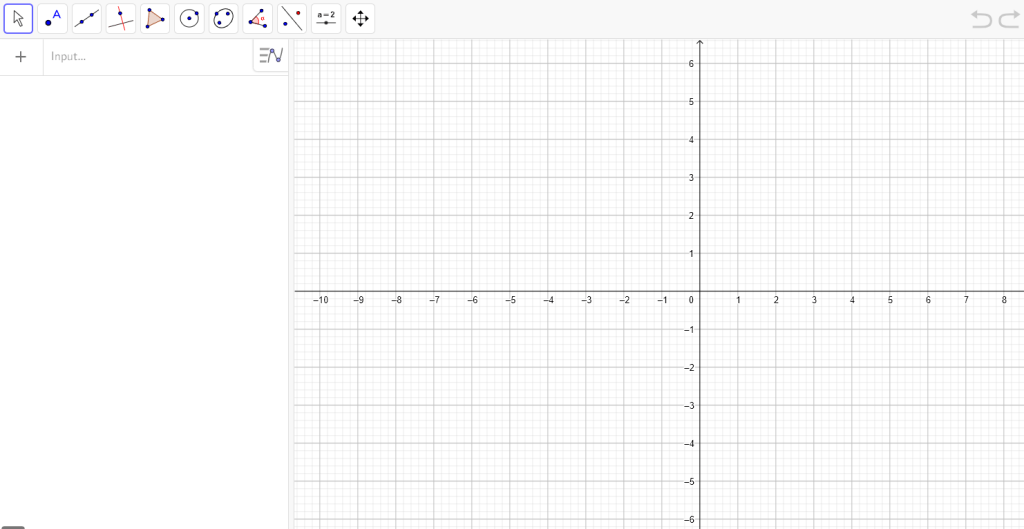
The user interface is designed to be intuitive and easy to use but I find that students still need some basic guidelines to get started. The main window is divided into three main areas: the algebra window, the graphics window, and the toolbar. The algebra window is where you will enter your mathematical equations. The graphics window is where you will see the results of your equations. The toolbar provides you with quick access to commonly used tools and functions.
Settings and Tools
The Geometry version has all the tools you can imagine. The basic tools are shown when you load the Geometry version and if you click “more” you get transformation tools as well as construction, circle, and polygon tools. The gear in the upper right corner is the settings. I probably use the settings as often as anything else. You can adjust the settings of a graph by clicking on the “gear”. For example, you can control the range of values that are displayed, the type of graph, and the color scheme.
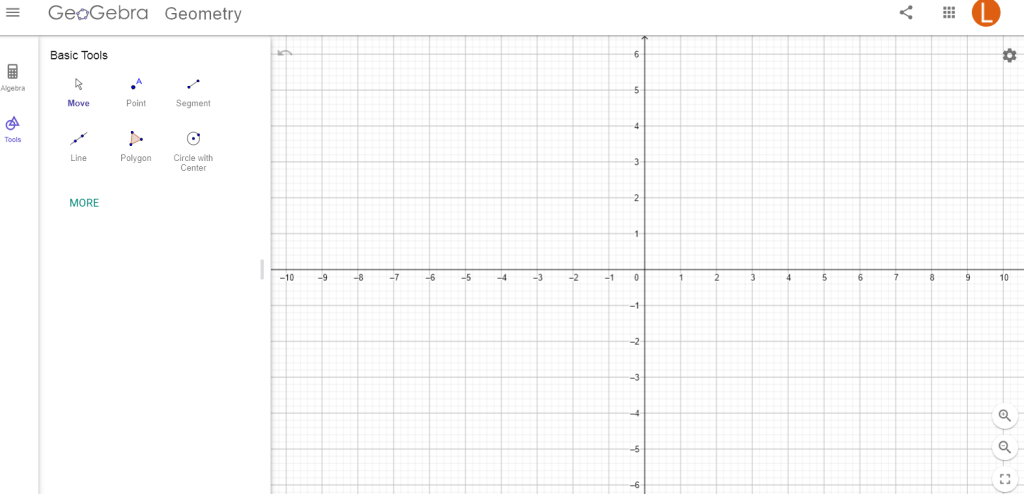
When you begin using this tool in your classroom, your first lesson with students needs to include how to adjust the settings (most common problem), the basic tools, and how to use the text box. I have the students use the text box to include their names and period. I also do not have them turn it in using the GeoGebra interface by saving or turn it in with Google Classroom. I have them take a screenshot and upload that.
Video of changing the settings and opening the tools.
Getting Started
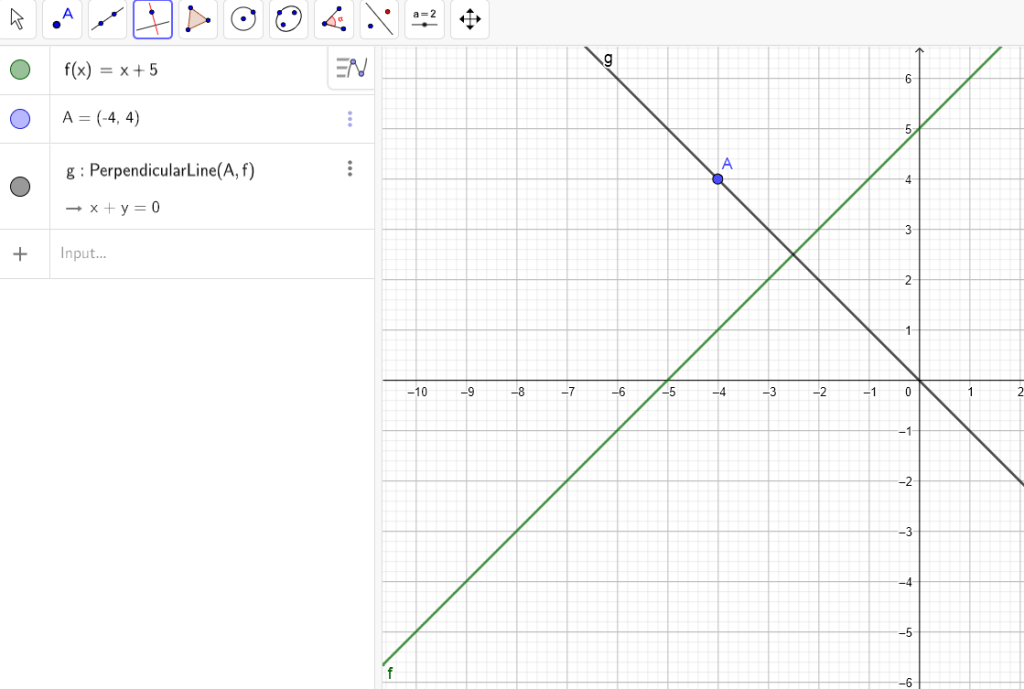
One of the most important features of this program is its ability to graph equations. To graph an equation, simply enter it into the algebra window and click the “graph” button. Geogebra will then create a graphical representation of the equation. In the graph below, I typed in a line, added a point, and used the line tool to create a perpendicular line through that point. Instead of students spending precious time actually making a grid on graph paper, plotting points, and using the ruler, they can achieve the result in a few minutes. And then spend the time answering questions about the slope or the point of intersection.
And for the teacher, you can prepare several versions of this in advance and use with your classes so they can discover the pattern of slope and perpendicular lines. Or hide the pop-out where the equations are typed and ask students to write the equations.
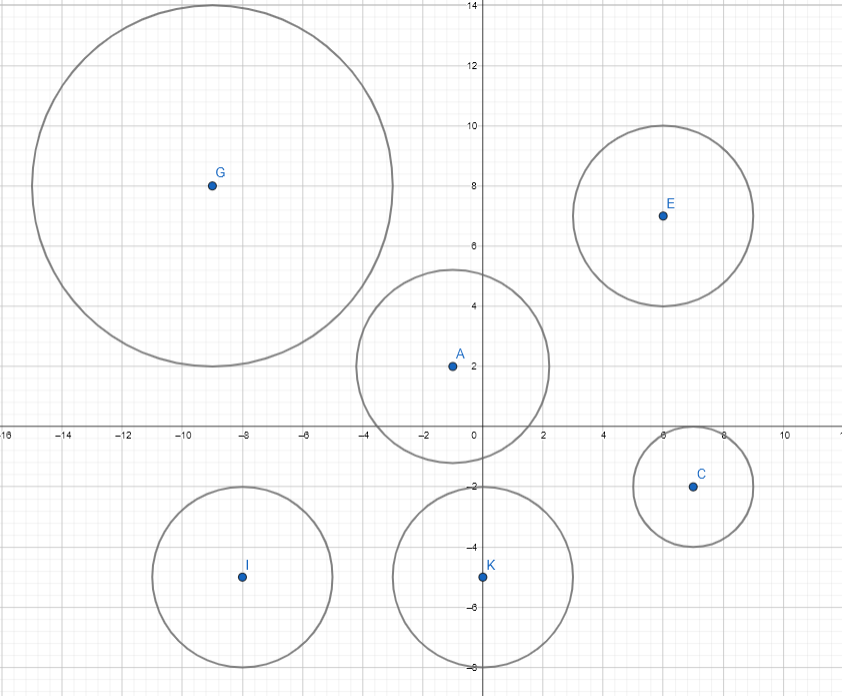
Or make several graphed circles as shown below and ask students to write the equations of the circles.
Copy Images from Curriculum to Create Activities
My district is using Illustrative Mathematics and McGraw Hill IM platform which uses Geogebra to have students apply or demonstrate visual understanding. However, most of the time, the tools do not work correctly, there is no place to type an answer or even the submit button is missing. This prevents students from doing an otherwise interesting activity.
For those activities which cannot be completed in the platform, I took a screenshot, uploaded the image into GeoGebra, and duplicated the activity. Students could then complete the activity, take a screenshot of their work and submit that screenshot in a google form exit ticket.
Line of Reflection Activity
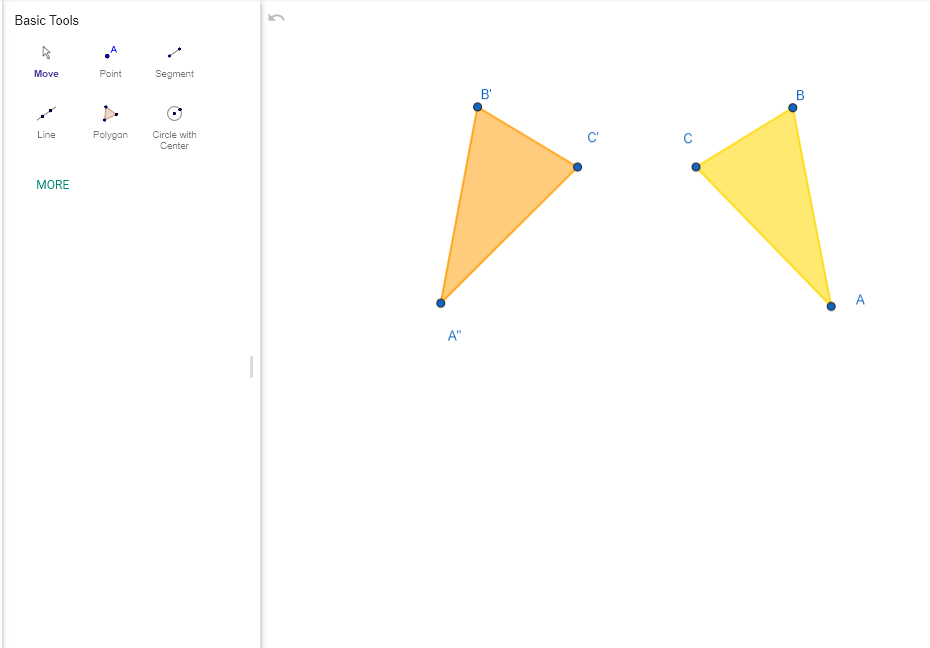
In the activity below, students were asked to find the line of reflection. The triangles were traced from an image I had in IM so that students could construct the line. The construction tools in IM were not extensive and the window they used was small so students had difficulty completing it in the platform, so I transferred the activity to GeoGebra.
Here was one of the students’ favorite activities from first semester. Students had to find a sequence of transformations that would get the dog in the doghouse. GeoGebra allows students to experiment with options quickly and if those options do not work, they can simply use the back arrow to return to a previous place.

Other GeoGebra Tools
Geogebra also includes a variety of tools for analyzing equations. For example, you can use the “sequence” tool to generate a list of points that satisfy an equation. You can also use the “regression” tool to fit a curve to a set of data points. These tools can be very helpful in understanding and solving problems at higher levels of math.
Geogebra is a versatile tool that can be used for a variety of purposes. In this post, I have only presented some ideas to get you thinking. Next week I will post some activities for Algebra that can be shared with students.
Want more ideas for using Geogebra? Check out these blog posts: Favorite Geogebra Activities for Geometry and Favorite Geogebra Activities for Algebra
If you have any questions before then, drop a comment below or email at [email protected].


Leave a Reply