Do you love Desmos activities but can never find just the right one for your class or just the right content? I mean it will come close, there are hundreds if not thousands of activities available, but they are just not perfect. The obvious solution is to create your own.
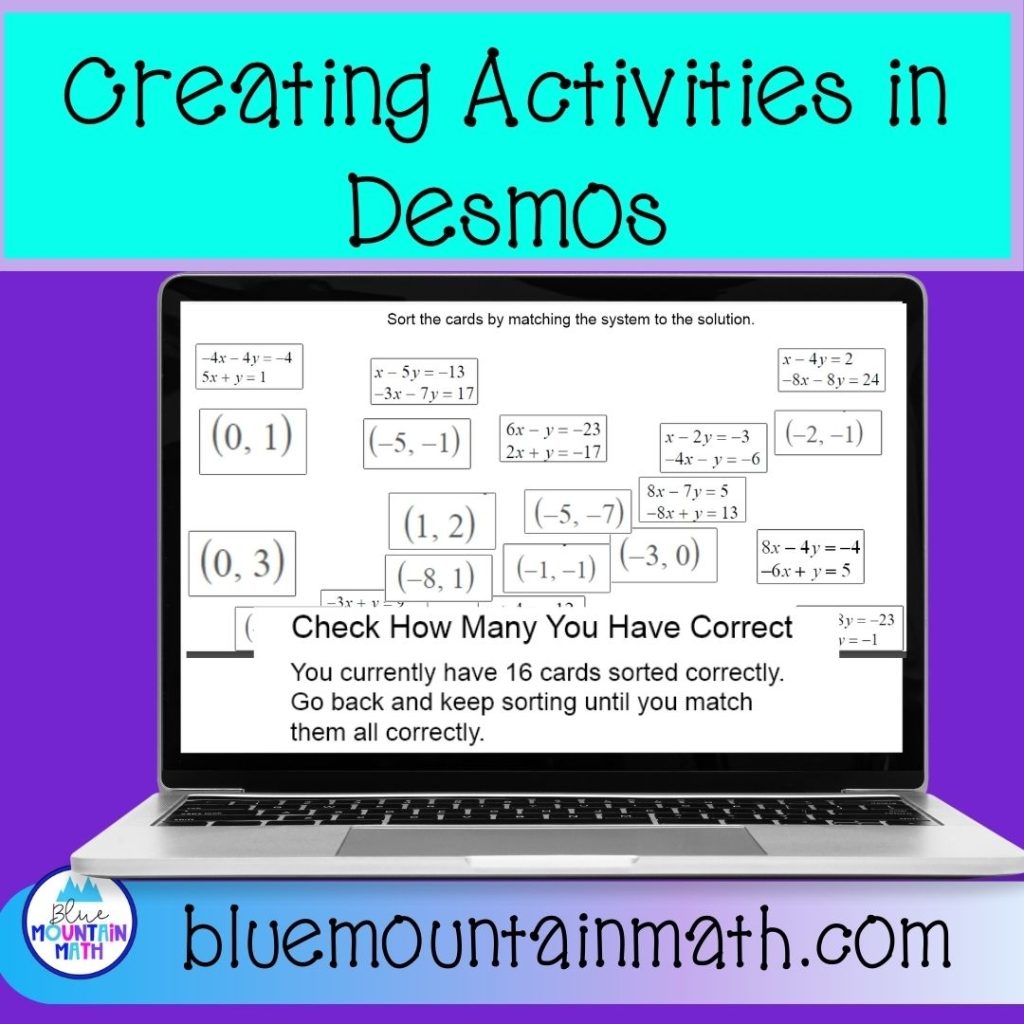
The matching card activity I created in the last blog post was something that took about 20 minutes to actually create. Learning how to do it was–well much longer. But now that I have learned how to do it, I can make an activity for my classes for any content quickly.
For those of you who like written steps, just follow along below. And I have added a video for those of you who want to see it done.
Step 1. Gather Your Content
First you will need content to create matching cards. It can be written, like writing out equations, vocabulary, images from a worksheet, or a graph. I have used both images and written out equations but not used the graph.
Step 2: Create and Name the Activity
Log into teacher.desmos.com. If you don’t already have an account create one, but use your school email so you can assign activities to your classes via links or Google Classroom.
Once you log in, look on the left sidebar and choose Custom Activities.

Once clicked you will see the custom activities you have already created or revised for your class. Click New Activity. Once you click this, you will be asked to name your activity and whether you want this to be private or can be shared with a link. I normally choose link, but you may want to keep it private for your class or your own use.

So I am going to make a Systems of Equation Matching Card Activity that I can share with others.

Once you finish the description and the name, you click Create New Activity.
Step 3 Creating the Cards
This is the meat.
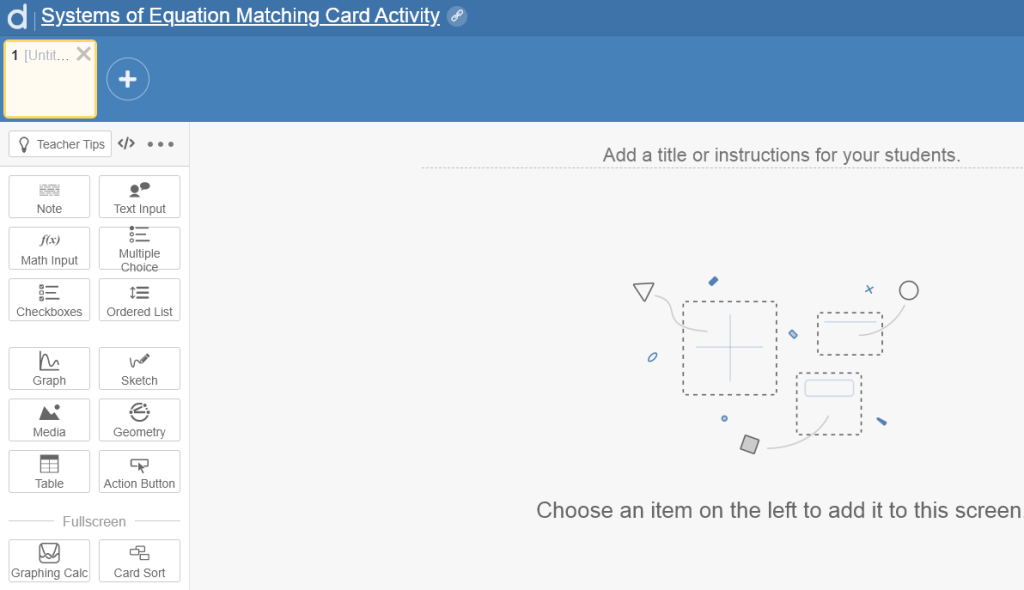
Once you click that button, you are ready to create any type of activity. You can see the different types of screens you can use for a lesson, mix it up. For our purposes, we are going to focus on the CARD SORT only.
Once you drag that CARD SORT button to your canvas, it will open up the choices you have for your activity. Add instructions for the students such as: “Match the system to the solution”.
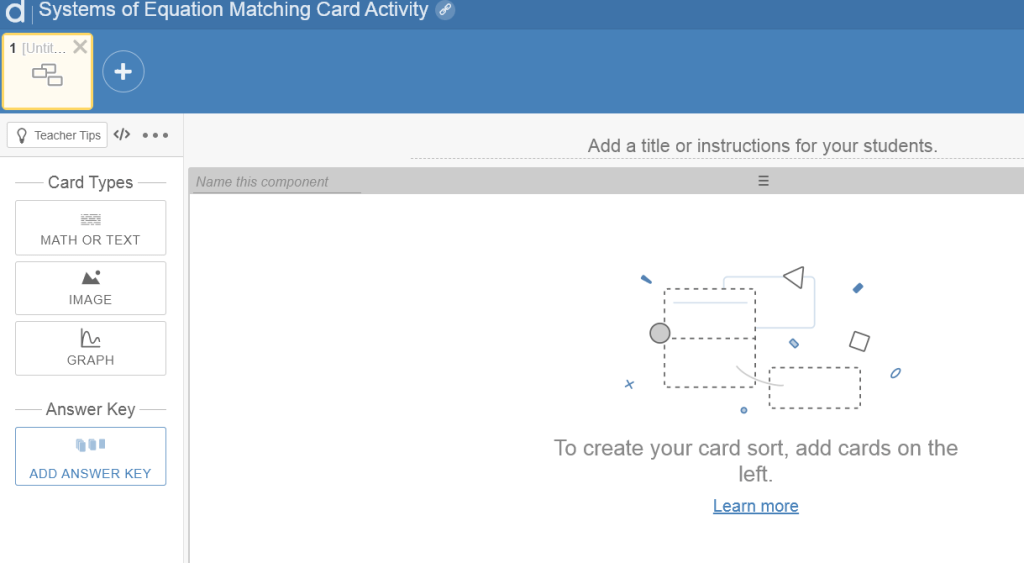
I am using images from a worksheet. I used my clipping tool to clip the equations and the solutions. For this activity, I want 10 pairs of matching cards. If you want to make it more challenging, add a card with no solution but if you do, let students know that 1 or 2 cards do not match.
Another option is to make the first activity where they all match and then duplicate the activity and add a extra card (either system or solution) to the mix for your advanced kids.
Click on the box marked “images” and drag your first image on top of it.

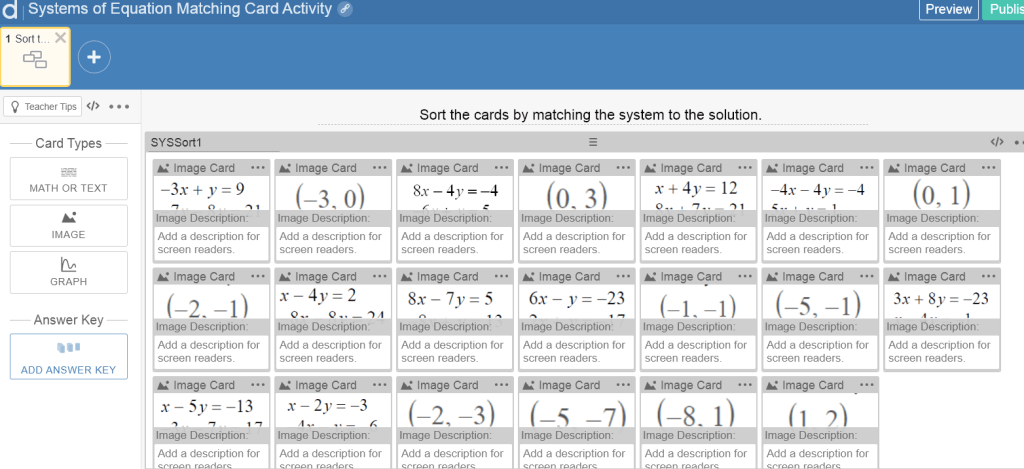
I find when I add the questions and the answers right after, they are not mixed up enough. If you find that you have added too many cards, use the 3 dots on the upper corner and delete any card you want.
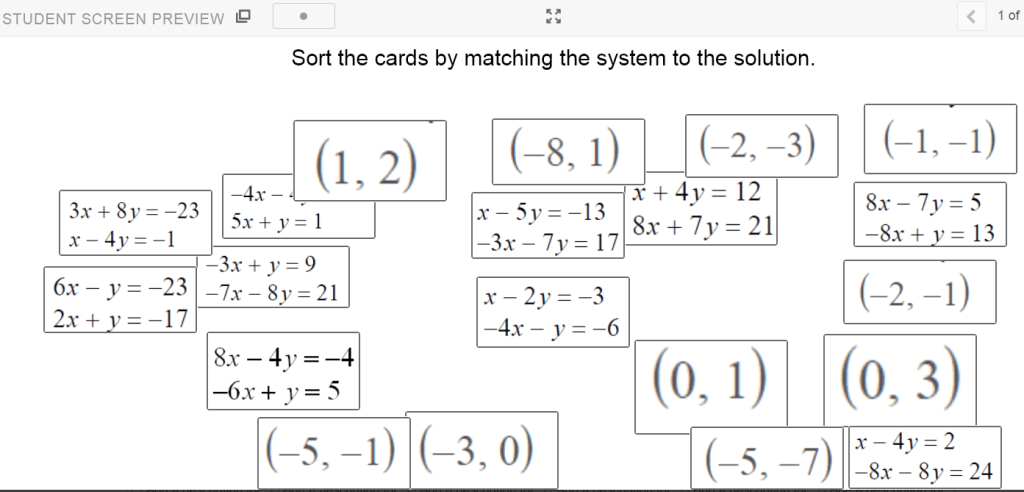
Here is my view as I finished entering the cards.
And here is the preview of what students will see.
Step 4: Enter the Answers
Click the Answer Key button on the left sidebar and match up the cards.
When you have matched them up, I would preview and double check your answers. Make sure you don’t have the same answer twice.
At this point, the activity is ready for students to use. You can assign using a link or assign to Google Classroom. However, I like to add a slide that tells students how they are doing.
The next slide can be created to tell students if all or none of the cards have been matched correctly so they can return and fix their error.
This requires a big of coding, but to make it easier, you can cut and paste the code I use.
Step 5: Creating an Error Message–Optional
On the slide where you have been working, name the slide. I have named my SYSSort1, but you can name it anything you want. In the code, you will use your name instead of the name I used.
Then create another slide. On this slide, insert a Text Input. At the top of that slide, click the icon circled in red. This is where you will enter your code.
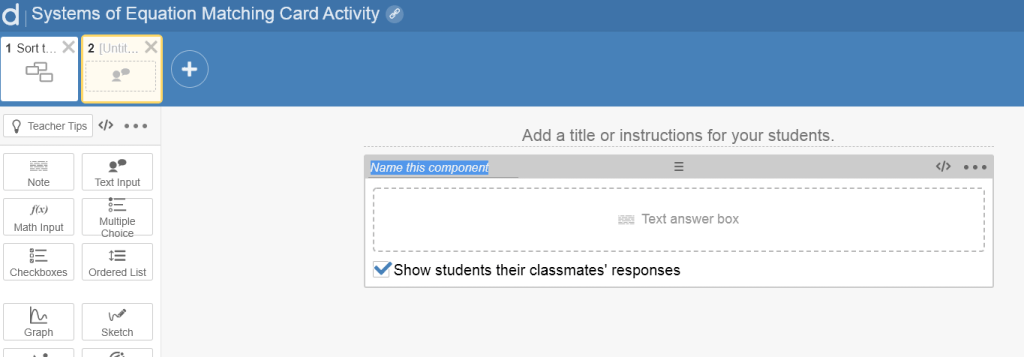
On this slide, after clicking the icon, paste this code:
“content:
when SYSSort1.matchesKey “All the cards are matched correctly! Great job.”
otherwise “You currently have ${ SYSSort1.totalCorrectCards} cards sorted correctly. Go back and keep sorting until you match all of cards correctly.” “
When you are entering the name of your card,(mine is SYSSort1) it should pop up as “alias”. Try clicking on that button if it doesn’t appear to work. Then click DONE at the top.
TRY THE ACTIVITY
At this point, you are checking to make sure the answers are correct when the cards are matched up and the slide that tells students if they are correct is accurate. I always have to edit the activity a few times to get it right. If you have a student who can test it even better.


Check to make sure that it is counting the number of correct or incorrect cards correctly. And double check the answer key. If you would like this activity, you can access it here.
Note: With most of my students I have no issue using the error message since they work diligently to match it up correctly. However, I have a couple of students who match 2 cards and then check it, match again, check, and continue this process to match the cards by using an elimination method. For those students, I delete the error checking card and assign that activity to those students.
I hope you will make some Desmos activities to have students match cards. I believe matching cards are a valuable activity for students, especially when they work in pairs or groups. They can discuss the answers and gain additional understanding by conversations.
As usual, if you have questions, drop me a comment or email me at [email protected].


Leave a Reply