I have been a Boom Card Fanatic since these digital task cards became available several years ago. I use them in the class at least weekly. I use decks as reviews, for extra practice, in tutoring for students after school, for those kids who are ill at home and need to keep up with the class, for homework alternatives, as well as incentives for my early finishers. Yes, incentives (trivia decks) , instead of the dreaded worksheet.
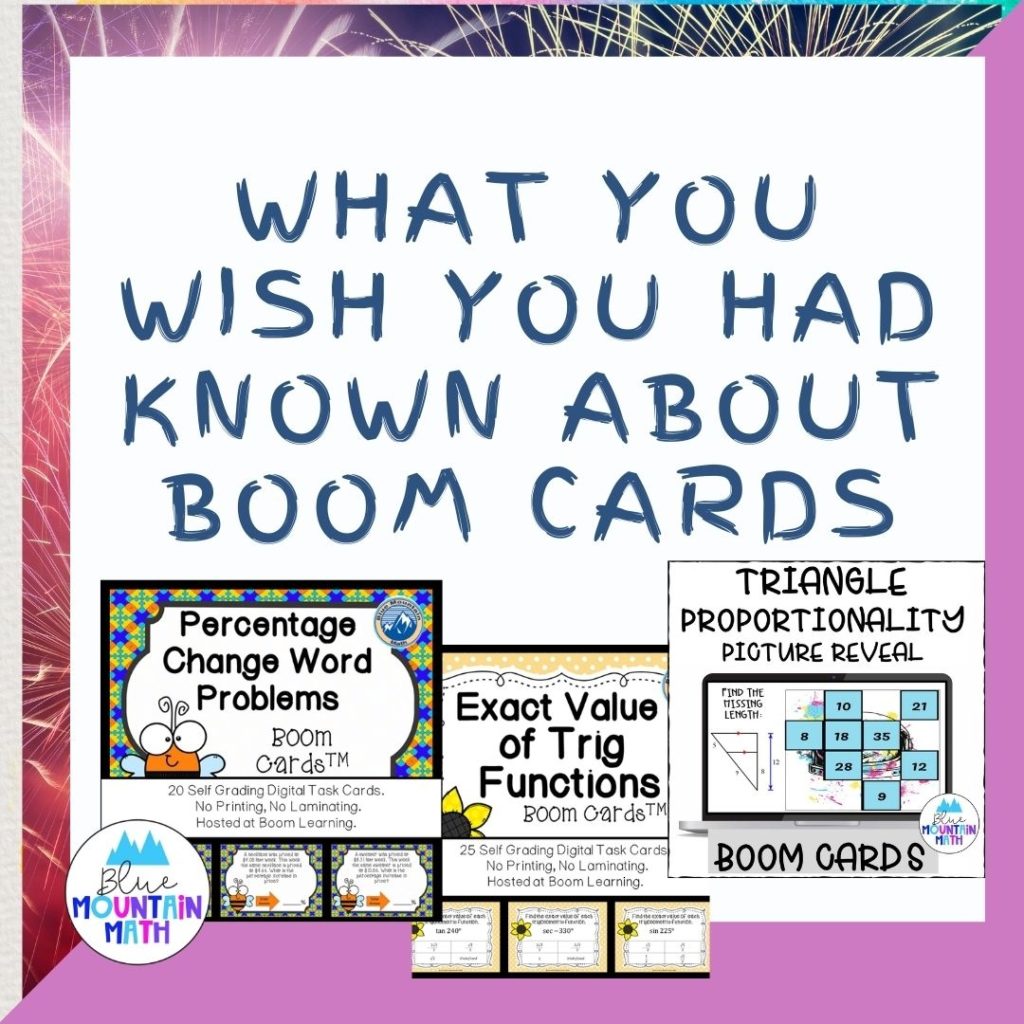
I use decks for groups as well as individuals, in distance learning, and in the physical classroom. I have come to depend on these decks as a much-needed supplement to my lessons in distance learning, but I was using them long before 2020 and will continue to use them.
See my variety of Boom Cards in the link below. I do have bundles available, but if you would like a custom bundle, please email me. [email protected]

Boom Classroom
One of the early features that I liked was the ability to set up a classroom and track the progress of individual students. For my high school students, they could not remember their password. I was resetting passwords each time we used the cards. Now, you can import from Google your class to make set up easier.

Now I hear there is a much easier way of logging into the class so students do not need this extra step. Younger students can use a picture sign in. Older students can use a QR code.
And the password problem is solved! I just imported my class roster from Google Classroom (Microsoft Teams roster can also be imported) and changed all their passwords to something I can remember (and I wrote it down, lol).
Once the rosters are imported, you can print them out, distribute log in cards to students to access their new Boom Classroom. Or you can share a QR code. I make the classroom locked and private so students cannot see other student names or create their own account.

Over time, it may be valuable information for parents and teachers, to look at the results. It is also valuable to show how students have changed over time.
Reports on Boom Decks
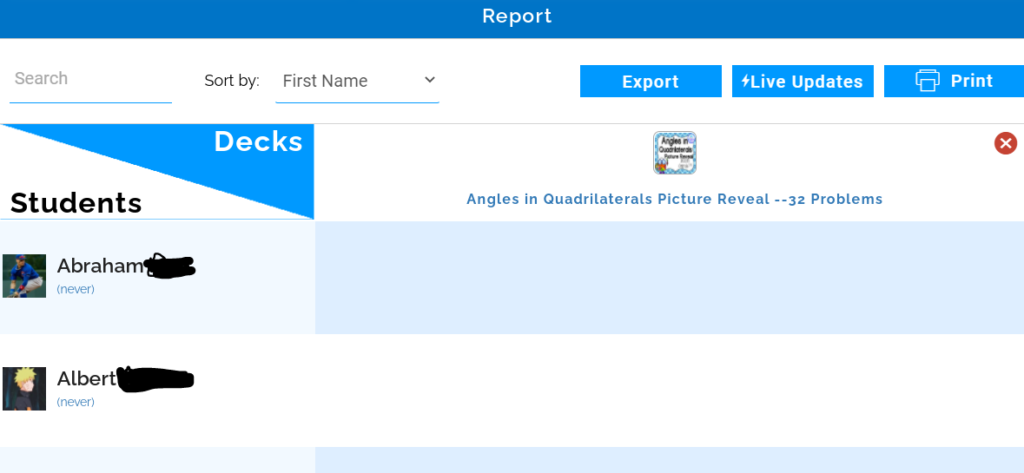
In the classroom, if you choose to track progress. You can select a deck that has been assigned and it will show the scores for each class member. You can also choose to look at the results live as students are working. You can print the report or download the results to an excel spreadsheet.
Your Boom Library
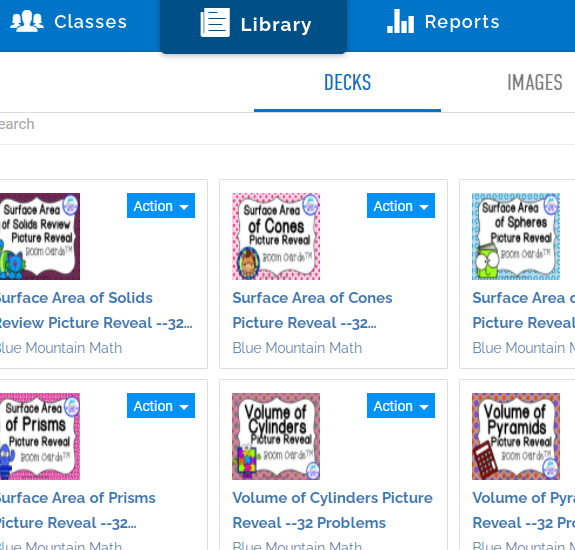
All the decks you have created or purchased are in your library. I often have a teacher who has purchased a deck from me want to know where it is. You can sort your library by what decks you have purchased, decks you have purchased, or by searching for a title. It helps to organize your decks by placing them in a folder.
I have folders for Middle School, Algebra, Geometry, Consumer Math, Algebra 2, and Trivia. But some decks are difficult to remember which folder they are in, such as the Pythagorean theorem. So searching for that title helps.
Those blue action buttons next to the decks will be the key to assigning a deck, fast pins, printing, or hiding cards in a deck.
Using Fast Pins
Because of the extra password resets, I began using Fast Pin. I could assign the pin to my students, either through google classroom or as a link on the board, and students could quickly begin working. In the library, use the blue Action button as shown and choose “Fast Pin”. It will generate a link which can be posted.

Monitoring Students
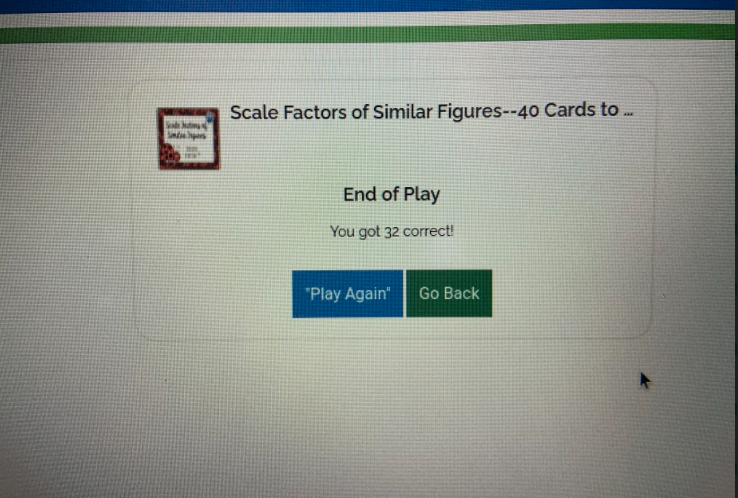
While I do watch students on a chrome book monitoring program as they work, I couldn’t see the scores. So in the classroom, I had students bring me the chrome book and show me their score. We have a policy of 75% as a minimum success rate. Anything below that requires a replay.
With distance learning, I asked students to take a picture and upload their score to me, either in a google form or as an assignment in google classroom.
Hiding Cards
In some decks, I have cards that students are not ready to use yet. I have one deck for my students for transformations that included dilations. Our curriculum changed and dilations were taught now in a different unit. So I hid the card in that deck from students so they would not be confused.

This option is also helpful if you have students who struggle and may need fewer cards to complete. If I have a deck of 40 cards, I would rather kids complete 10 cards correctly than be overwhelmed by rushing through 40, or even 30. Note: hiding cards applies to all students. In your library, click the blue action button and choose Hide. You can always unhide cards later as needed.
Hyperplay Link
This option is used when you are placing the link in a hyperdoc. It will prompt students to sign in and play will begin. It does save a step and instruction to log in first.

Printing the Cards
You can print the cards. Yes, you lose the self-grading option. But if you need a deck of task cards and either lack internet access or the necessary devices, print the cards out. Tell students that you don’t have an answer key, and assign cards to students to create a key. You can quickly assess which students need extra help while getting that answer key.

You have the option of how many cards are on the page. In your library, click the action button and then print. You have the option of printing one, two, or three cards per row. You may have to adjust your print settings or page settings to make sure it doesn’t cut cards off.
Creating a Deck
There are various tutorials available on creating a deck, but to get you started here are some basics that I use. I create a PowerPoint of task cards as in a previous blog in a size 7inches by 5 inches. Save the individual slides as images.
Example: If I am going to make a deck to practice multiplying fractions, I add a problem to each card. I decide in advance how the students will answer. Will they type in an answer? Will they choose from a multiple choice? Will they Drag an answer to a drop zone?
Once I make that choice I know whether to place a space on the card for the answer option. Multiple choice takes up space on the card and you need to allow for it. Typing in an answer also requires some thought and a card with directions for the student can be added.
Once you have your cards created, save the PowerPoint file as images (jpg). Click on Studio, create cards.
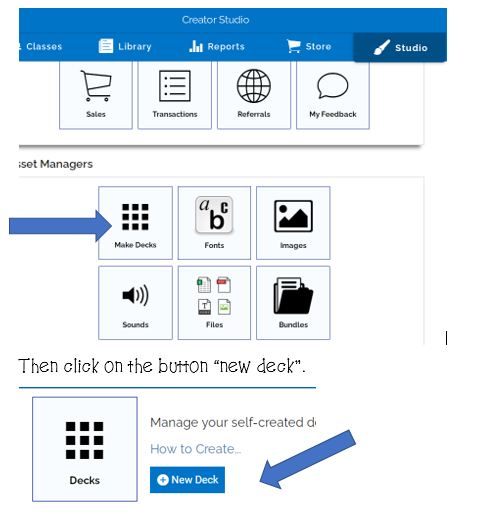
Then click on the button “new deck”.
You will upload the images in the Background Image area. Then when your images are uploaded, you can either add the cards individually or add the cards from the images by clicking the image button and selecting from your uploaded images.
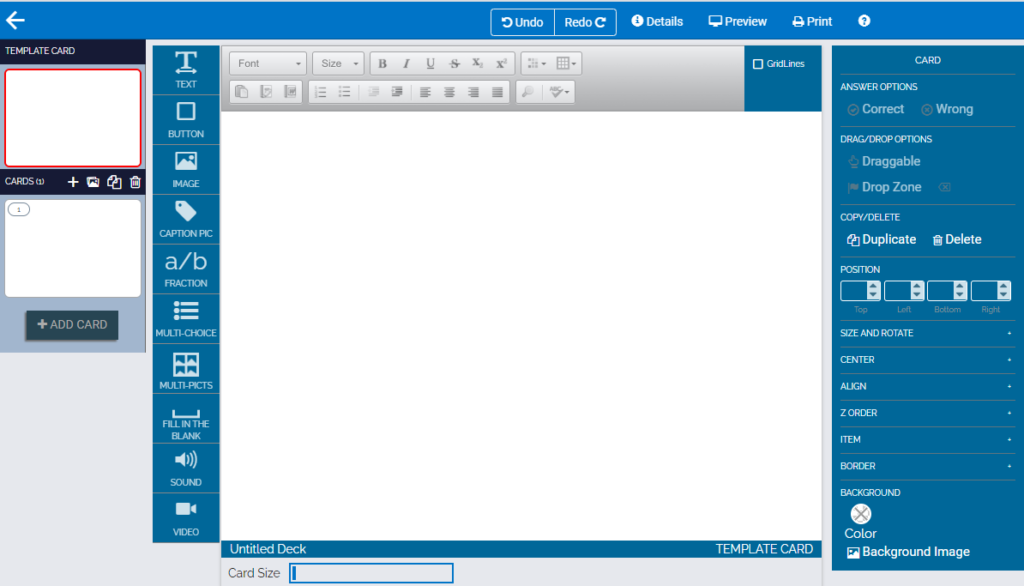
You will then need to add the answers to the cards to create the self-grading options for your deck. If you are interested in learning more about creating boom cards, check out the YouTube videos and tutorials.
Boom Learning has some great YouTube videos that show you all the options of creating and assigning decks for your students. They also have a great help area that answer a lot of questions about creating a classroom and information for parents.
https://help.boomlearning.com/en/support/home
https://www.youtube.com/c/boomlearning
There are also Facebook groups that help you get started using these digital task cards. These groups have links in the settings at Boom.
I hope this has been helpful. Discussions about creating task cards would not be complete without looking at this digital option for teachers and students that have been so critical during distance learning.
If you need more information, please drop a comment below or email me at [email protected].


Leave a Reply