If you have been following the past few blog posts, you have seen all the benefits of using task cards in the classroom.

But where do you get all those frames and borders? One option is to buy them. You can find sellers on Teachers Pay Teachers that all sell task card frames and borders that can be used in a variety of sizes. I have both digital paper and frames and you can see the list here: http://bit.ly/TPTFramesandPaper
Creating Frames
If you are like me, you like color. I suppose a plain black and white border is nice, but I like color and lots of it.

I used to make my task card frames in Photoshop, which is a wonderful program. But when my computer was slowly loading that powerful program one day, I was thinking I wish there was an easier way to get a quick frame without waiting. There was another way of course. PowerPoint!
Making Frames
The first few frames I made were fast, but not really satisfying because I used a plain, white rectangle in the center
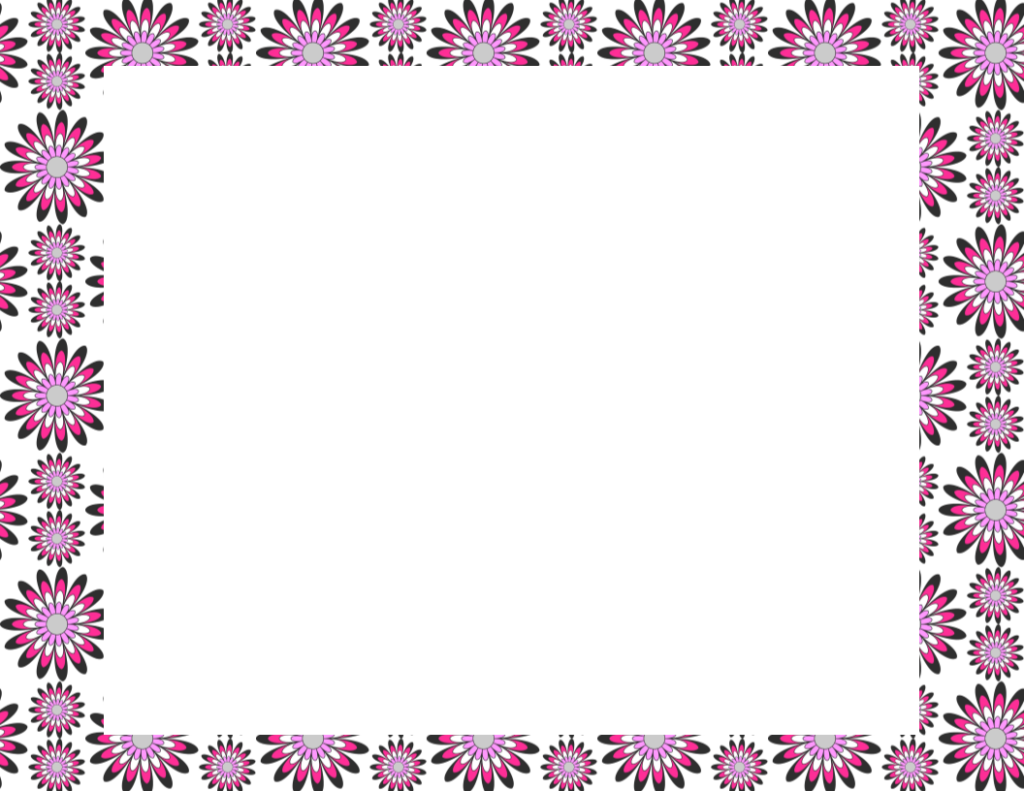
Yes, I had my color around the outside, but that plain rectangle bothered me. It wasn’t me.
Then I found some images of frames that were perfect and now I can pop out dozens of frames for use in my task cards, Boom Cards, and scavenger hunts.
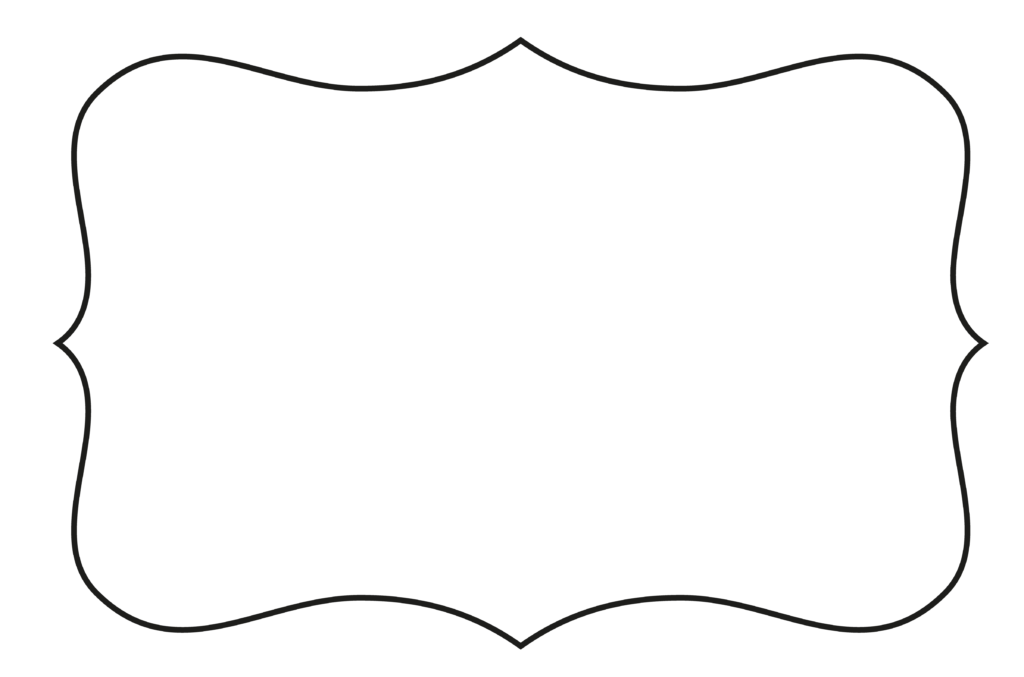
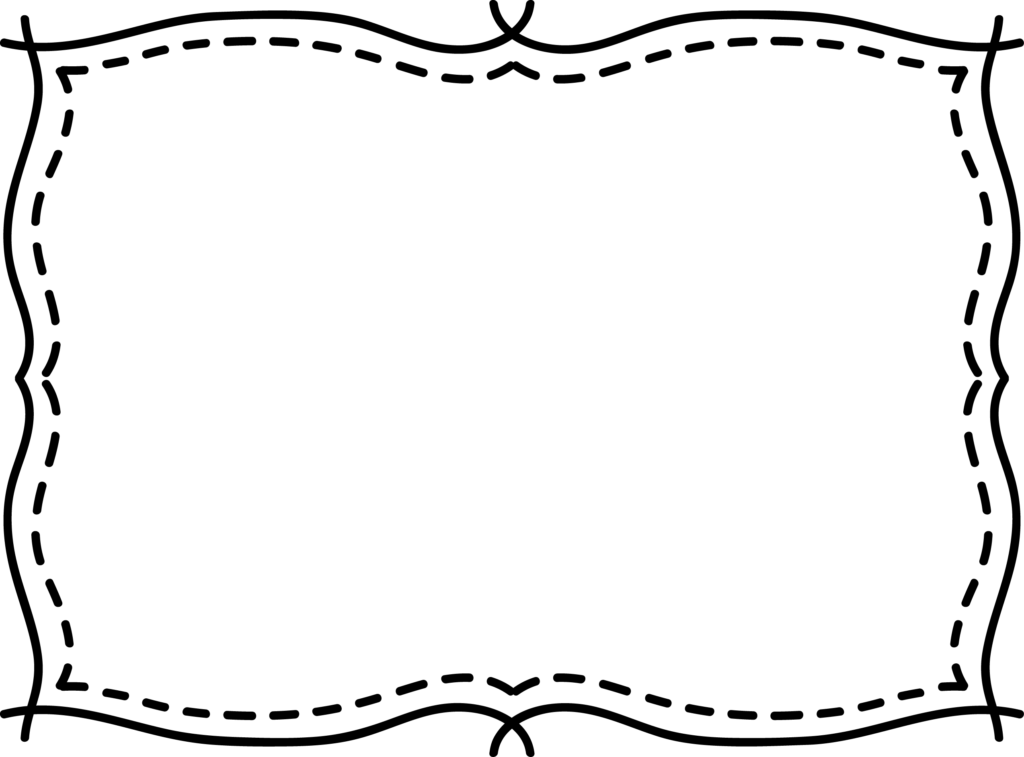
PowerPoint Frames
If you plan on making a lot of these frames, then set up your PowerPoint files and save to reuse any time you need more frames. It is easy to have the size and orientation all ready as well as the frame image. Then all you have to do is switch out the paper background to get a new design.
Size and Orientation
If you are going to have one card to a page then I use 7 inches by 5 inches when I am making boom card frames but I have used my standard 11.5 x 8.5 images and they work well too. You will want it in landscape.
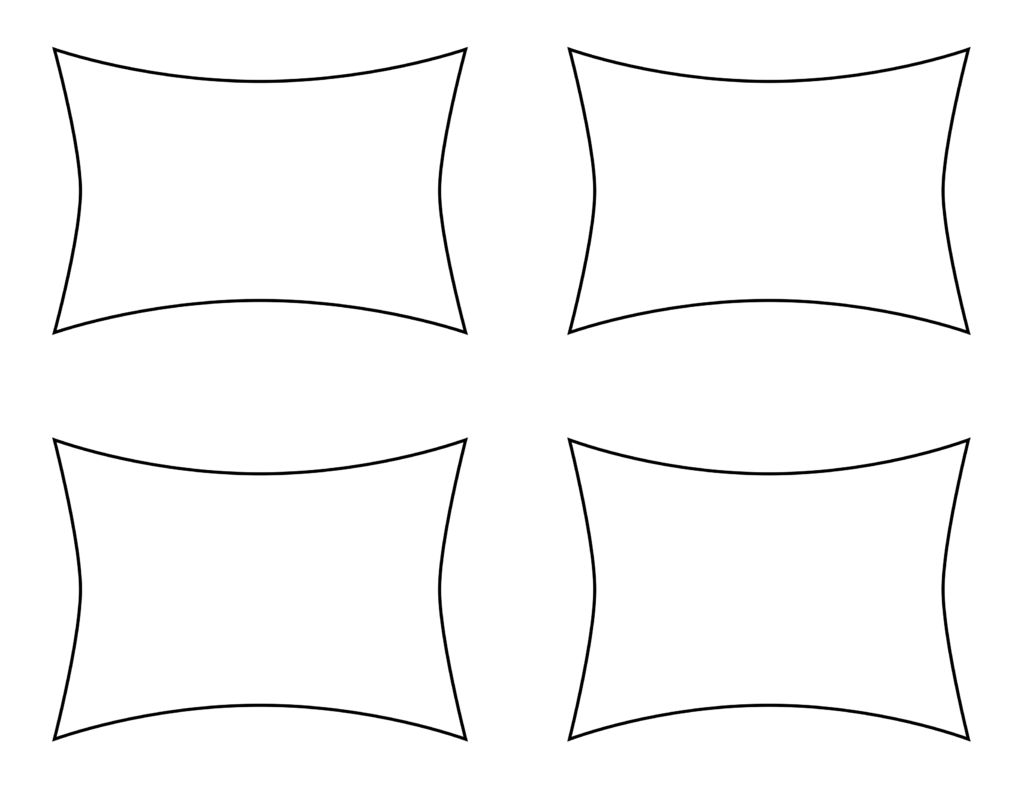
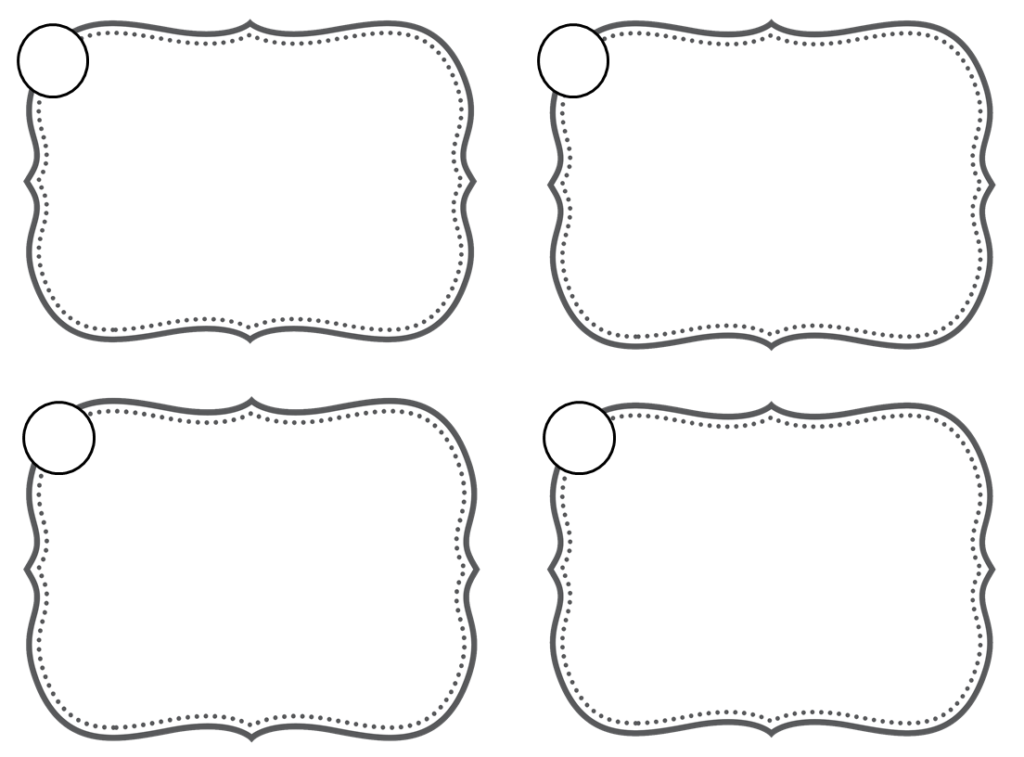
If you are going to have 4 cards to a page create the 4 card format first. Use a frame you like, resize it so that it fits on ¼ of the page, then duplicate it. Once you have the format you like, save this slide as a PNG image. Then you can use this image as a frame on top of your paper.
Inserting Paper
Click on the design button at the top and insert a picture. One of my hobbies is to make digital paper so I always have a lot of paper to feed my need for color.
Pick a color and design that makes you happy. You can then create a white rectangle (ick) on top for your future content or place an image of a frame as I have done.
Design Decisions
Will you number your cards? You can always add the numbers later, but maybe add a place for it now. I like to add a circle, sometimes a triangle for that number so it is a part of the card frame.
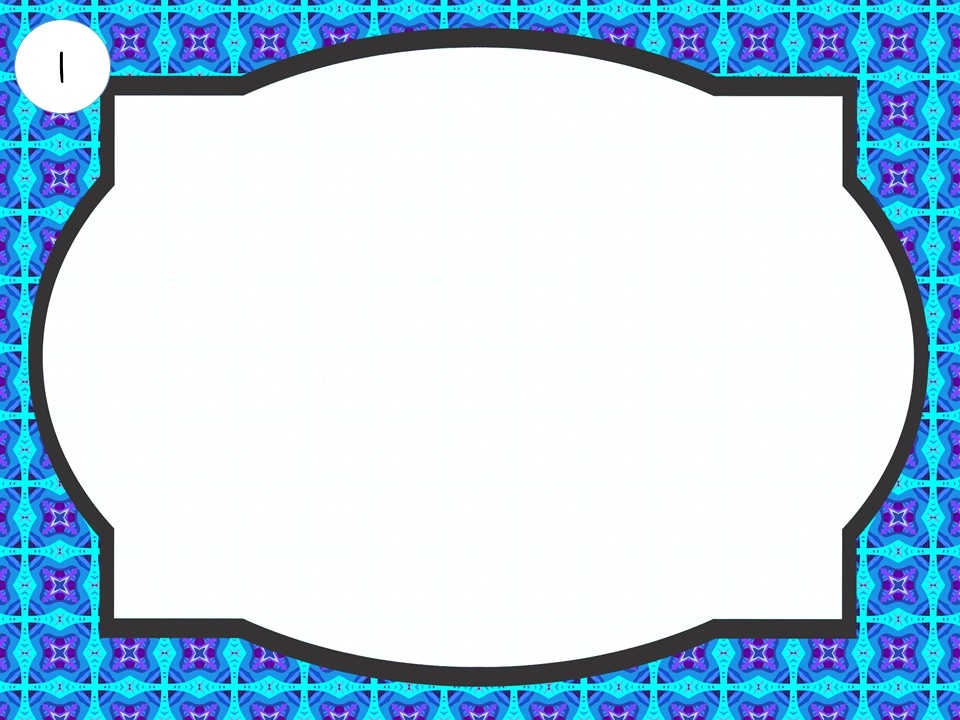
Since you are creating a blank space for future content, once your frame is created you need to save. I like to make 5 at a time, so I would duplicate the slide, then change the paper.
Save your PowerPoint file. Then save the PowerPoint file as images (JPG) and now you have those frames.
You can now create your task cards by inserting that picture into google slides, forms or PowerPoint and add content. For ideas on using google slides and forms, check out the blog here: http://bit.ly/GFormsBlog
Using Frames in PowerPoint
To use frames in PowerPoint, use the design button again, add an image and choose one of the frames you have designed. You may have to adjust the frame for size.
Add any content you need for your students. You can add text, add math problems and images. If you are using these for boom cards, create all the content here before uploading to the boom card site.
Making Content by Starting with Simple
If you are making these to use in the classroom, think of progressive content. That means, begin with simple content and get more complex as you add more cards.
If you are making cards for solving one step equations, begin with a simple problem with positive integer answers that requires adding or subtracting to solve.
Make a few cards like this, then add some with negative integer answers. Then questions that may require multiplying or dividing. Some word problems. Perhaps some questions that have decimal or fractions as answers.
Progressive Cards Identify Student Needs
If the cards are assigned or used by students in order, then you can see where the students get stuck and address those specific solving issues.
As you know your students, you can choose to assign specific cards to students or exclude cards. There is no rule that all students get all cards.
Make Fun Cards

So far we have been talking about content, but not all task cards are “tasks” or work. Another option is to use cards for getting to know your students at the beginning of the year. You can ask questions to learn about students or let them learn about each other.
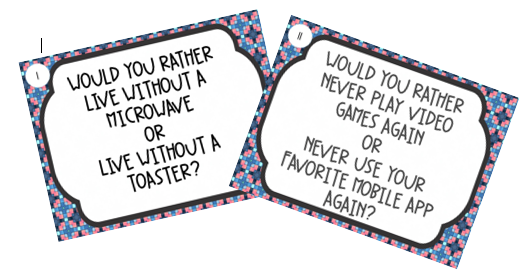
- Make a set of cards that ask “would you rather” questions to pull out when the class is getting bored.
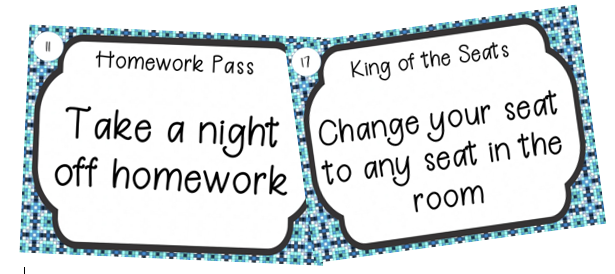
- Keep a deck for rewards, either for individual students or whole class.
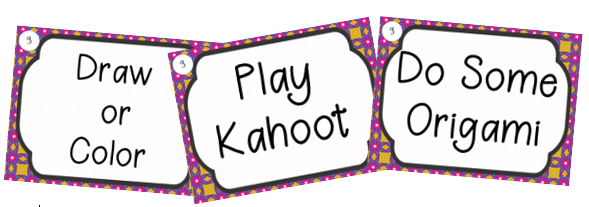
- Keep a deck for early finishers, options what they can do while waiting for other to finish.
Now that you have all these ideas, get started. If you want some frames and paper to create your task cards, I have a file ready for you to download.
I will also include a PowerPoint file ready for your own paper to personalize your cards either using 1 card to a page or 4 to a page. You can easily switch out the frames or paper as you experiment.
Scroll to the bottom and just click the button to sign up for the task cards. I will send them by email and you can start making your own set of cards.

I would enjoy hearing how you use task cards in your classroom, just comment or send me an email at bluemountainmath@gmail.com.


I’d love a template for task cards!
Please send the task card template. Thanks!
I would love a free task card template. I have been using them in my science class. I would love to be able to make my own so I can differentiate learning.
I would love a free task card template please!!
I would love to receive a set of free task cards. Thank you!
I would like some free task card templates to help me study for exams